The sheathing
Panels and boards are checked by hand. Soft, delaminated or stained sheathing indicates an active or previous water intrusion.

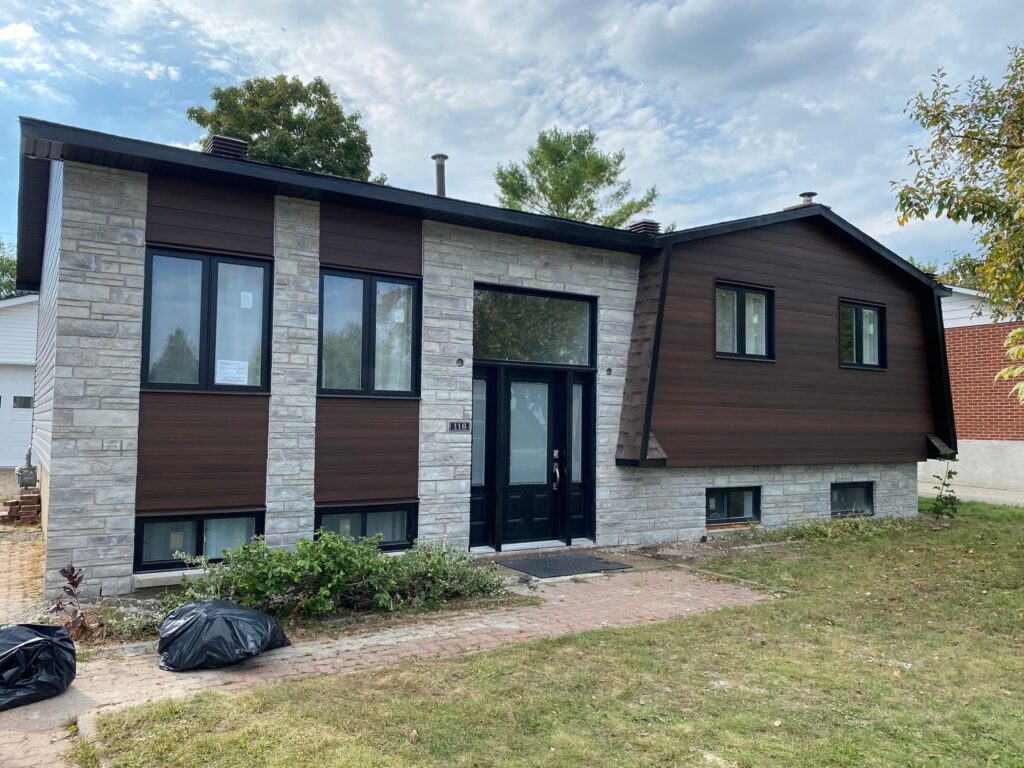
Installing exterior cladding is not simply a matter of changing a wall’s appearance. It means opening up that wall, assessing its actual condition, correcting what needs to be corrected, then closing it back up with an assembly that manages water. Gouttières et Revêtements Synergy follows these steps in the same order on every project throughout Lanaudière, the Laurentides, the North Shore, Laval and Montreal. RBQ licence 5723-4940-01.
As long as the old siding remains in place, no one can say for certain what is behind it. A façade that looks sound from the street may be covering swollen sheathing, a torn weather-resistive barrier or blackened framing. We therefore remove the cladding one wall at a time and inspect the exposed surface.
Panels and boards are checked by hand. Soft, delaminated or stained sheathing indicates an active or previous water intrusion.
We check whether a weather-resistive barrier is present, whether it is continuous, and whether its overlaps direct water downward. A barrier installed backwards directs water behind it rather than outside.
Window and door perimeters, dryer vents, outdoor faucets, electrical outlets, roof-to-wall connections and wall junctions. These are the places where water gets in first.
Studs, bottom plates and headers are examined wherever the sheathing is affected. Structural damage is addressed before installation, never afterward.
It must be said plainly: on a house with aged cladding, finding damage during demolition is common, not exceptional. Water entering through missing flashing or failed caulking can travel through the wall long before it leaves a visible mark indoors. That is why the inspection is performed with the wall open.
When we find something, we document it, show it to you on site and agree on the correction before continuing. Damage is never covered over: concealing it simply allows it to worsen out of sight.
Affected sheathing is replaced. Damaged framing components are handled according to their role. Flashing at openings and roof-to-wall junctions is restored or replaced. This step has a limit: new cladding will not stop water coming from a roof, poorly integrated flashing or a gutter that drains against the wall. The source must be corrected first, otherwise the problem will recur behind a new wall.
Exterior cladding is not watertight, nor does it need to be. It withstands wind and driving rain, but some water passes behind it. The real barrier is the weather-resistive barrier installed over the sheathing, continuous and overlapped from bottom to top so water drains out, and integrated with flashing at openings. This assembly determines whether a wall dries or rots.
Furring strips fastened into the structure create a space between the weather-resistive barrier and the cladding. This air space has two functions: it allows water that has passed behind the cladding to drain downward and exit at the bottom, and it allows air to circulate and dry the back of the materials. The lower opening is protected against insects and rodents. Wood or fibre-cement cladding benefits especially from this drying.
The wall is open, the weather-resistive barrier needs to be redone and the furring strips need to be installed. This is the only point in a home’s life cycle when adding exterior insulation requires no additional demolition. Continuous insulation is installed beneath the furring strips.
An honest clarification: adding thickness to the wall changes the position of the openings. Frames, trim, sills and window returns must be extended accordingly, increasing the amount of finishing work. This addition must be decided at the estimate stage, not once the first panel has been installed.
Each material has its own fastening requirements, and they are not interchangeable. Vinyl must remain free to move with temperature changes: nails are placed in the centre of the slots without being driven tight. Fibre cement, CanExel, Maibec, steel, aluminum and wood each have their own anchoring, cutting and edge-treatment methods. The first row is laid out level around the entire perimeter: an incorrect starting line will show all the way to the top of the wall.
Corner trim, termination trim and aluminum capping around frames close off the ends. Soffits and fascias are connected to the cladding while maintaining attic ventilation. Gutters removed for the work are reinstalled afterward.
Finally comes the caulking of joints. It seals the gaps where two materials meet. It does not replace flashing or the weather-resistive barrier: a bead of sealant is a wear component that moves, dries out and must be redone, whereas water management is permanent. A wall that relies on its caulking to stay dry is a poorly assembled wall.
Gouttières et Revêtements Synergy is based at 580 Chem. de Lavaltrie, local 103, Lavaltrie QC J5T 0H1. We hold RBQ licence 5723-4940-01, are Alu-Rex ÉLITE Installer, CAA-Québec Recommended and APCHQ Certified. We serve Lanaudière, the Laurentides, the North Shore, Laval and Montreal.